
Chainsaw Milling
I had four trees cut down on my property, kept the wood, and milled them with a chainsaw. It turned out to be a ton of satisfying work, and opened the door for more interesting projects.
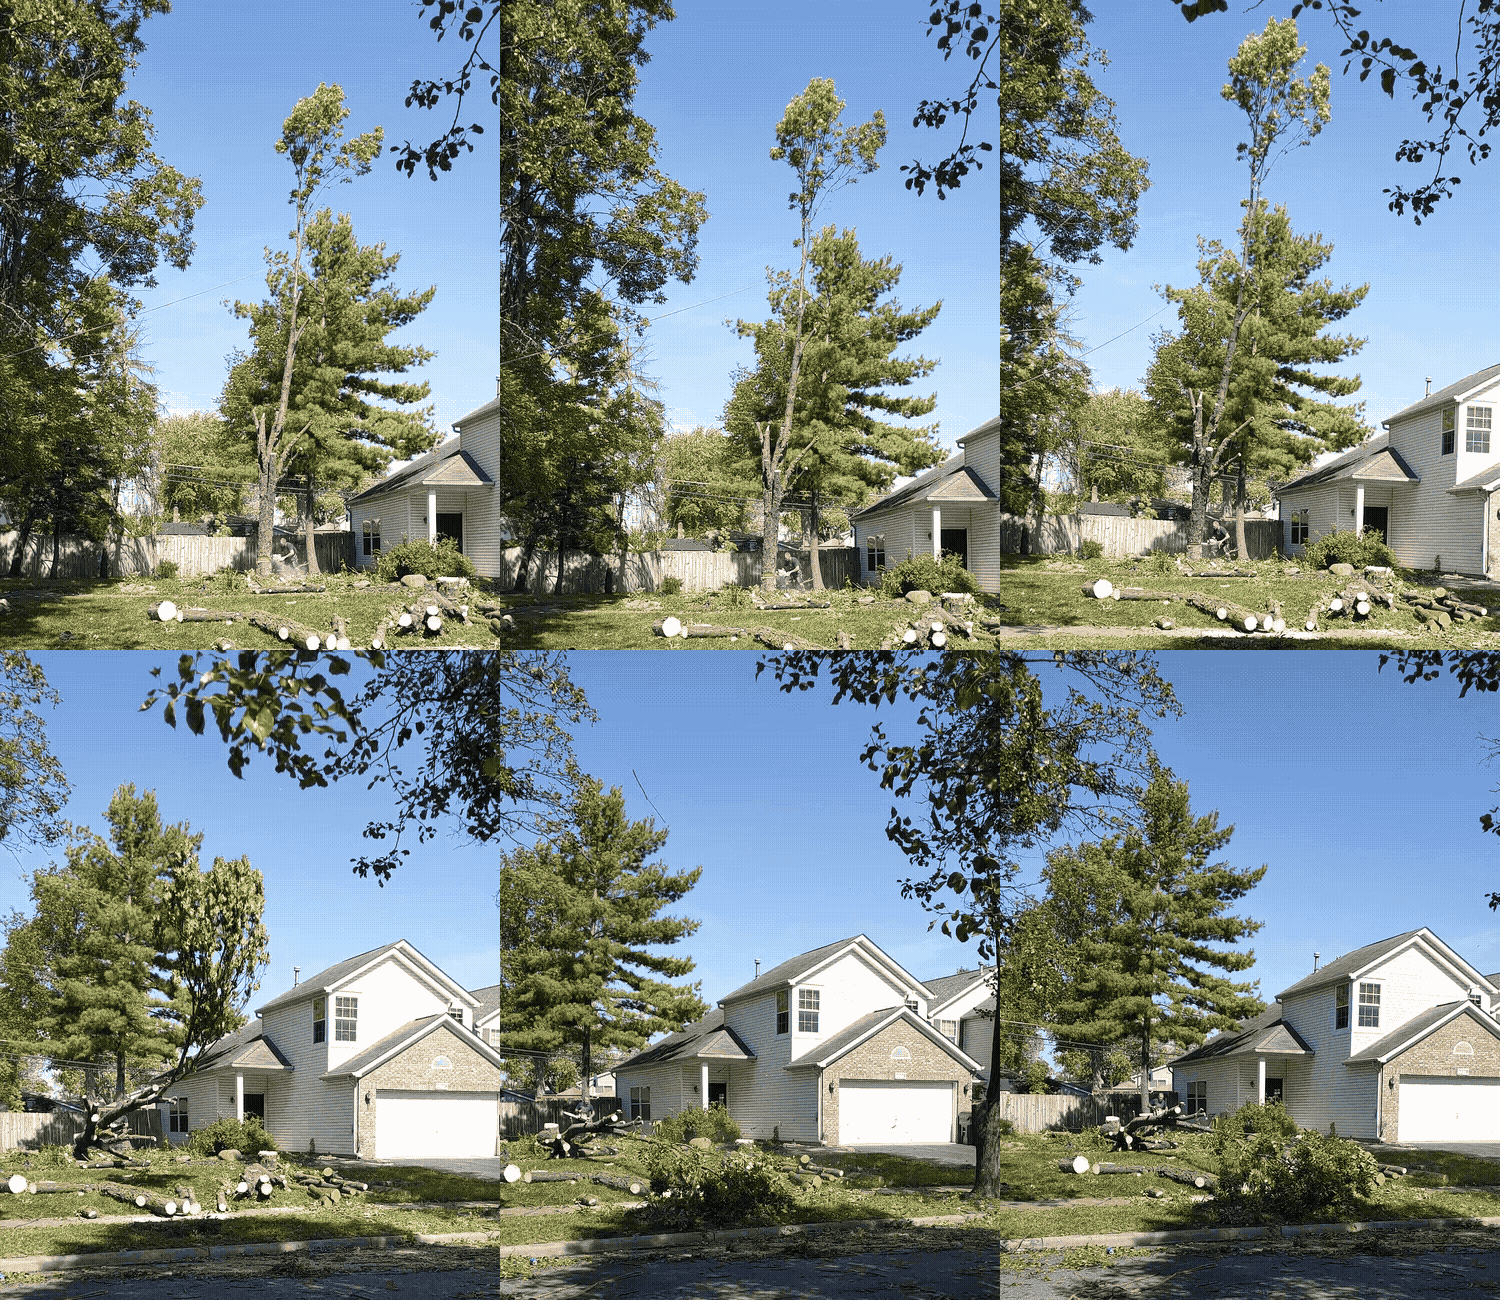
Background
My house came with three big Ash trees that were infested with Emerald Ash Borer (EAB). This is an invasive bug that eats the living part of the tree in wiggly lines that cut off flow of nutrients, causing the tree to die. I also had a Bradford Pear removed because it’s just a terrible tree and also illegal here.
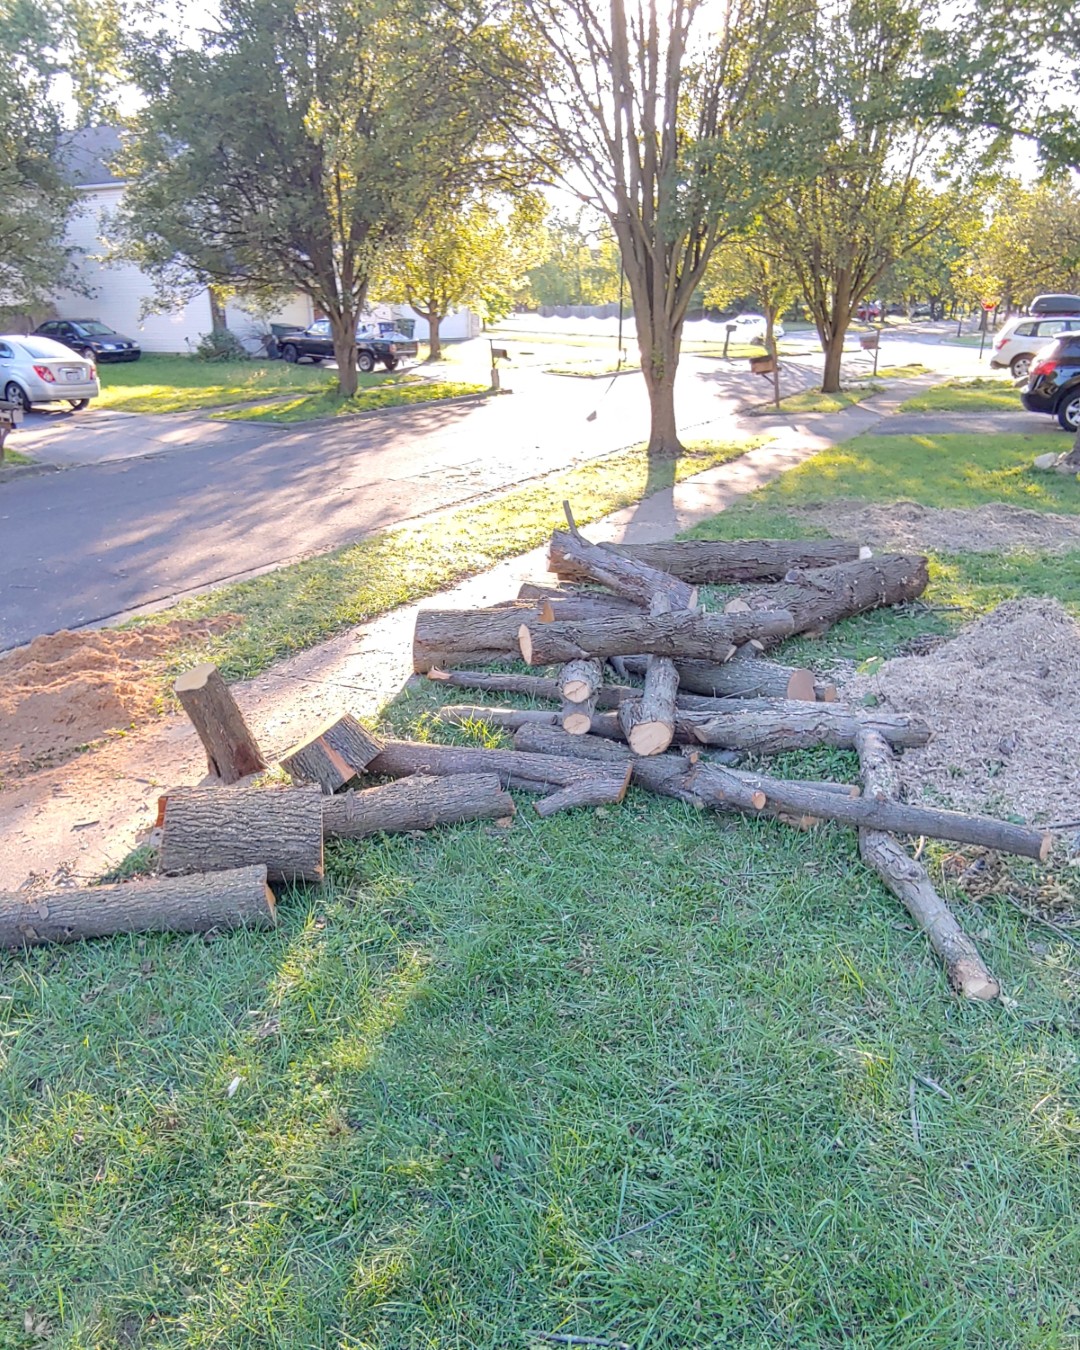
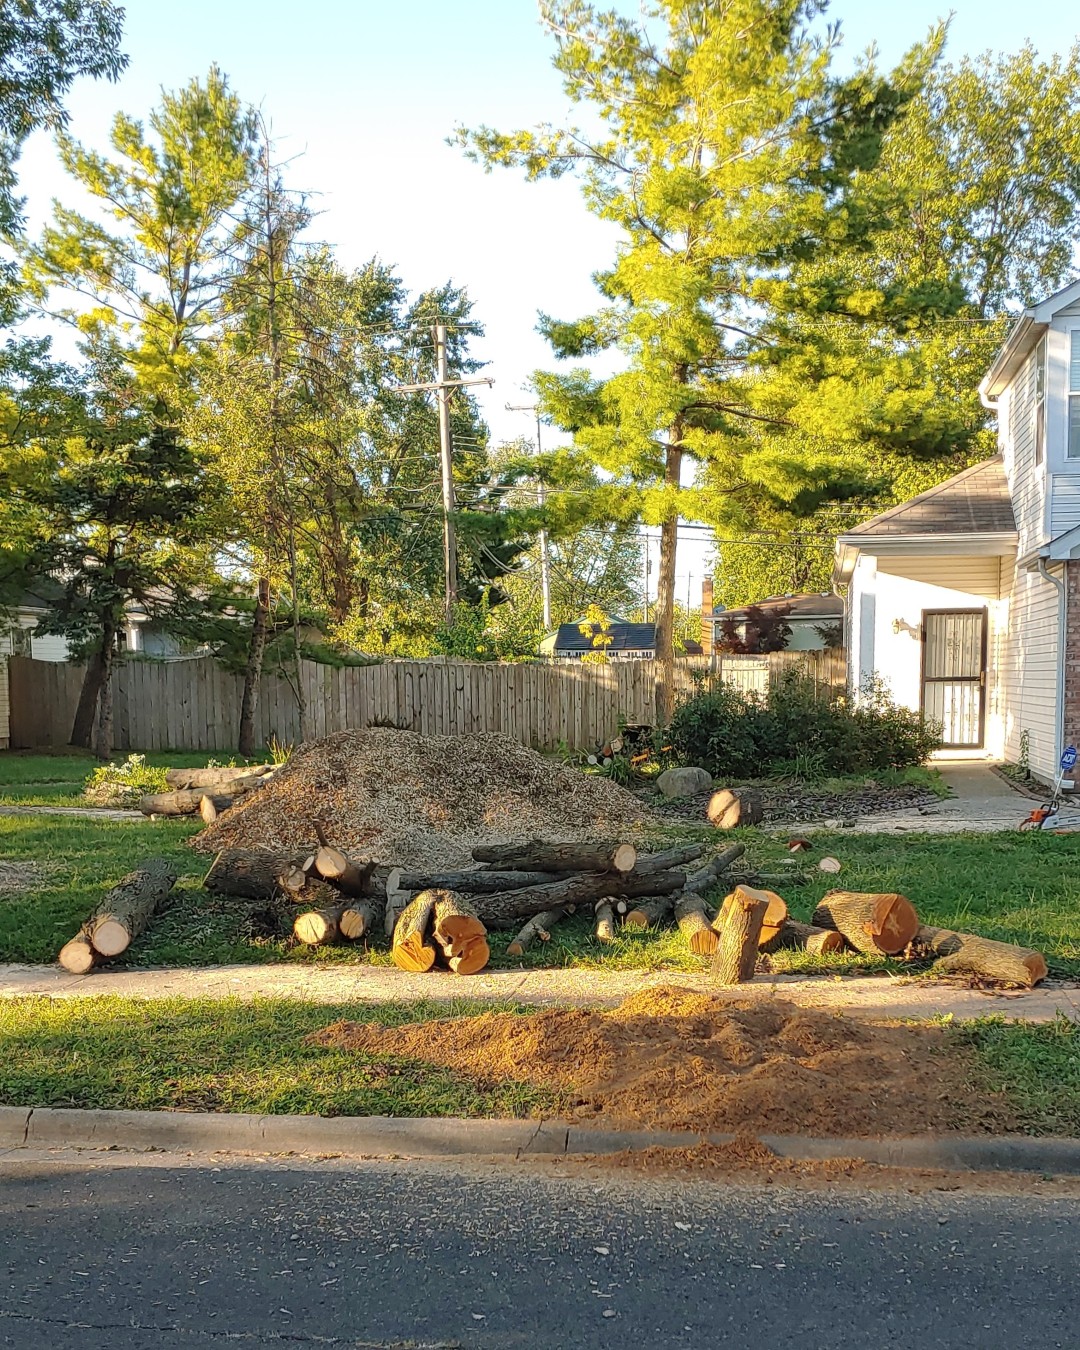
I paid for the trees to be removed, but asked to keep long and thick sections so I could mill them with a chainsaw, dry the boards, and make… stuff. I hadn’t decided exactly what to make, but I’ve never been short of project ideas so I was unconcerned.
Step 1: Get a chainsaw
I bought a Stihl MS 250 because I needed to do a lot of cutting and battery power wouldn’t last all day. So I chose the chainsaw with a good reputation, available locally, with the longest bar that didn’t cost over a grand.
Step 2: Buy a jig
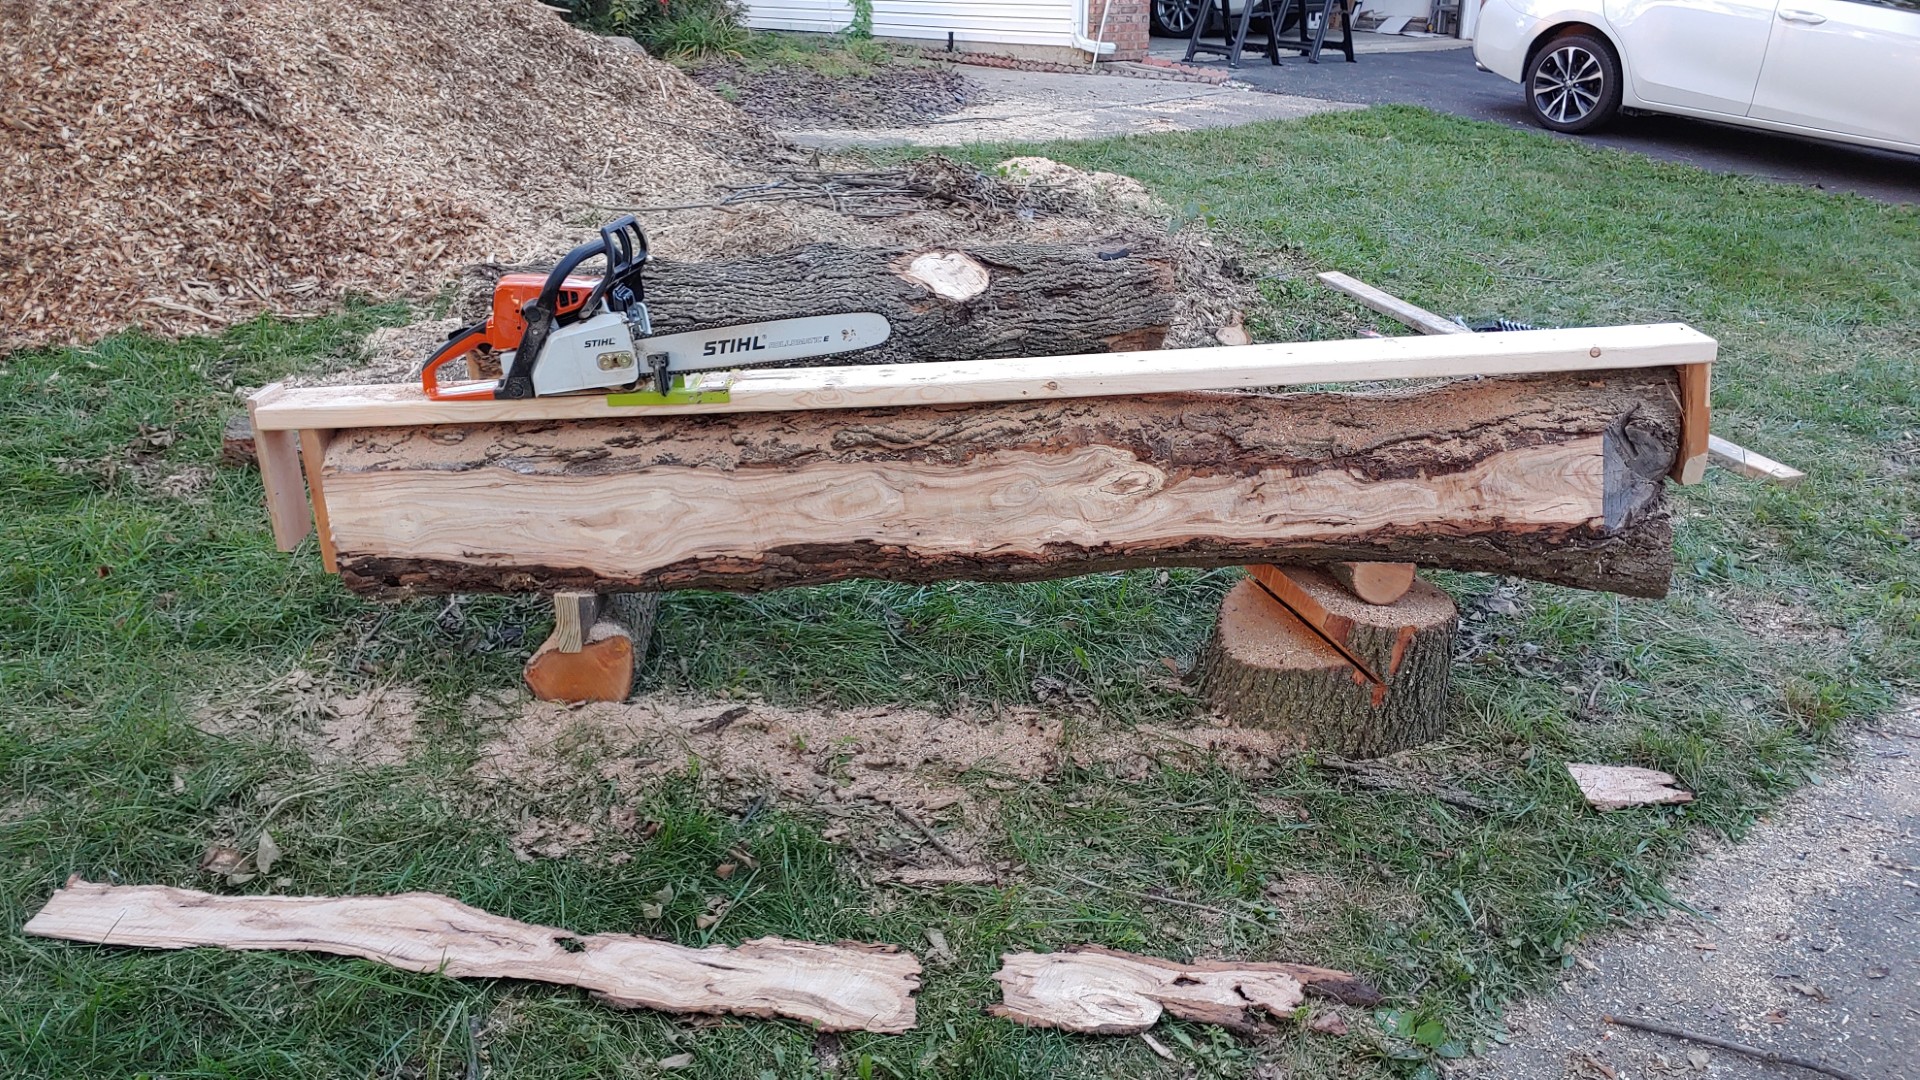
I went with a cheap vertical mill attachment that rides along a 2x6 or 2x4.
Cost was the biggest factor, but I also needed to consider capacity. My chainsaw bar wasn’t quite long enough to make it through the thickest logs I had, so a horizontal jig that attaches at both ends wouldn’t work at all for those logs.
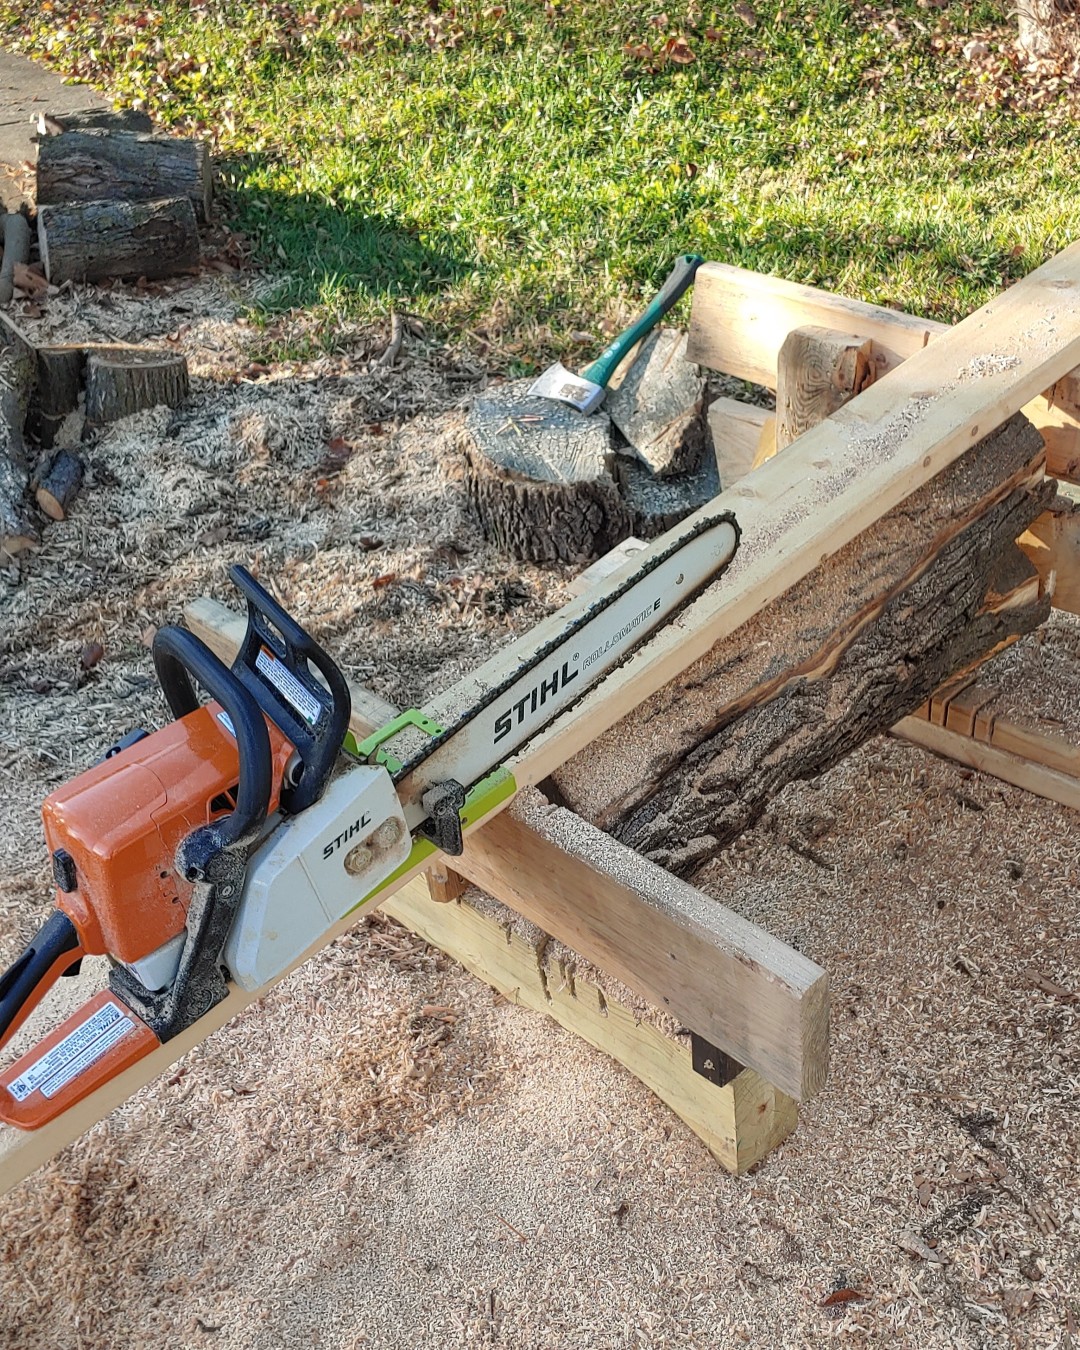
Step 3: Mill
Figuring out the thickness and spacing
For a target thickness, I found a good rule of thumb to be adding an inch to the milled board. So if you want a 2” thick finished board, rough cut to 3” with the chainsaw. This accounts for the chain wandering, cuts that aren’t perfectly vertical, and wood movement.
With the thickness in mind, figure out the spacing on the log cross section. Decide whether the center is the middle of a center board or a cut line. Draw what looks like the best option on the log, then use a straight edge to see if the end boards would be worth keeping. Check this from both ends of the log, especially if one end is significantly thicker.
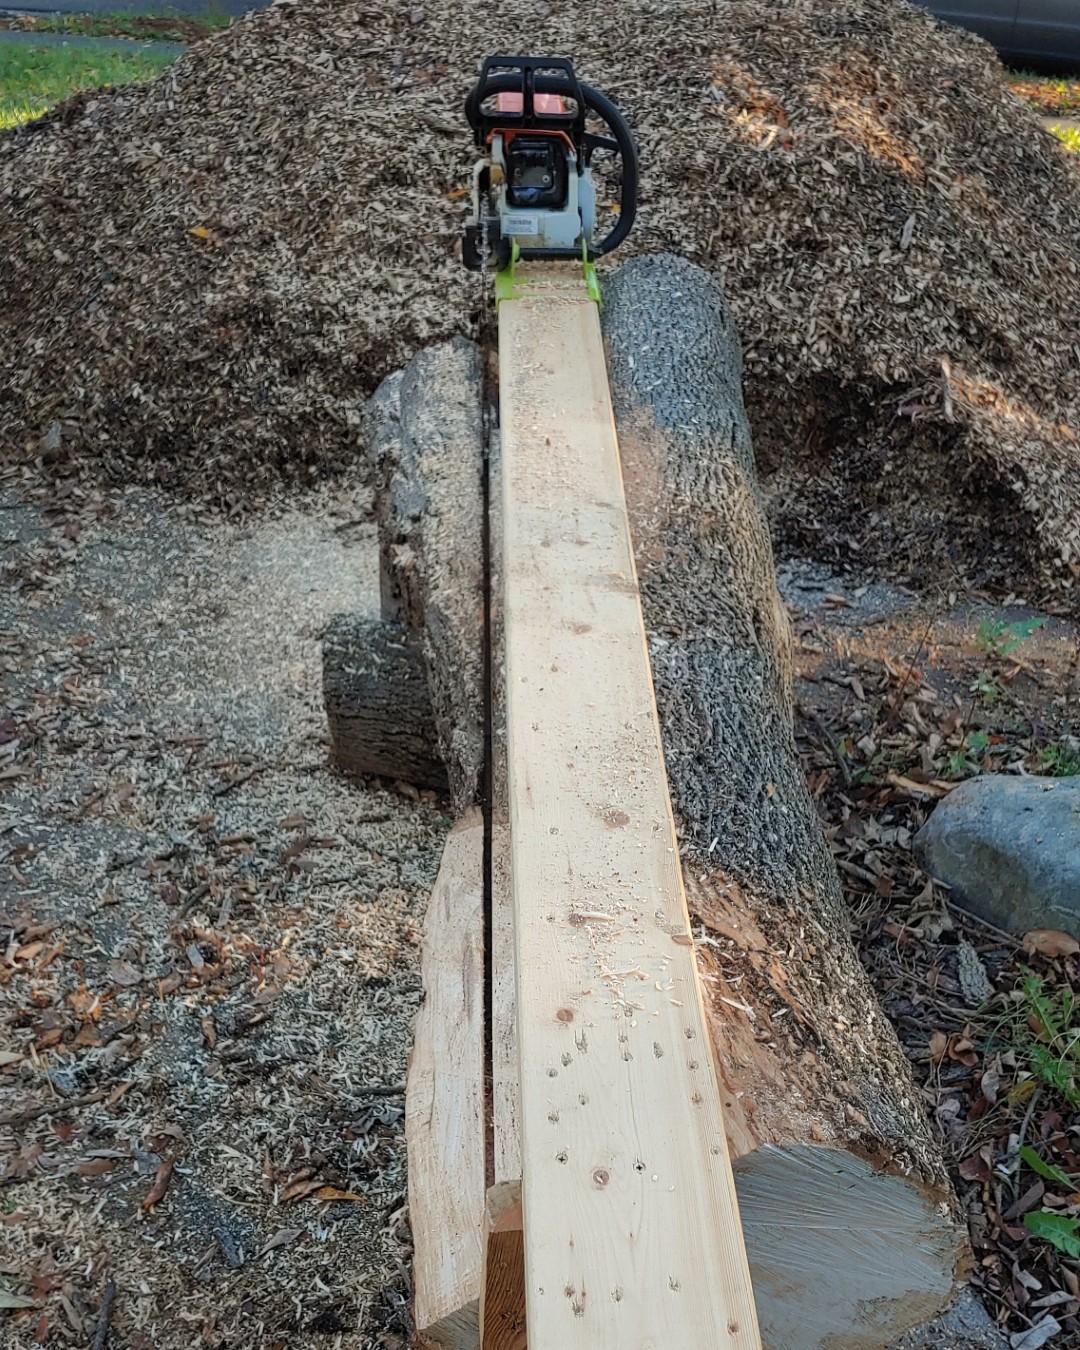
This can get tricky with odd shapes.
Setting up the jig
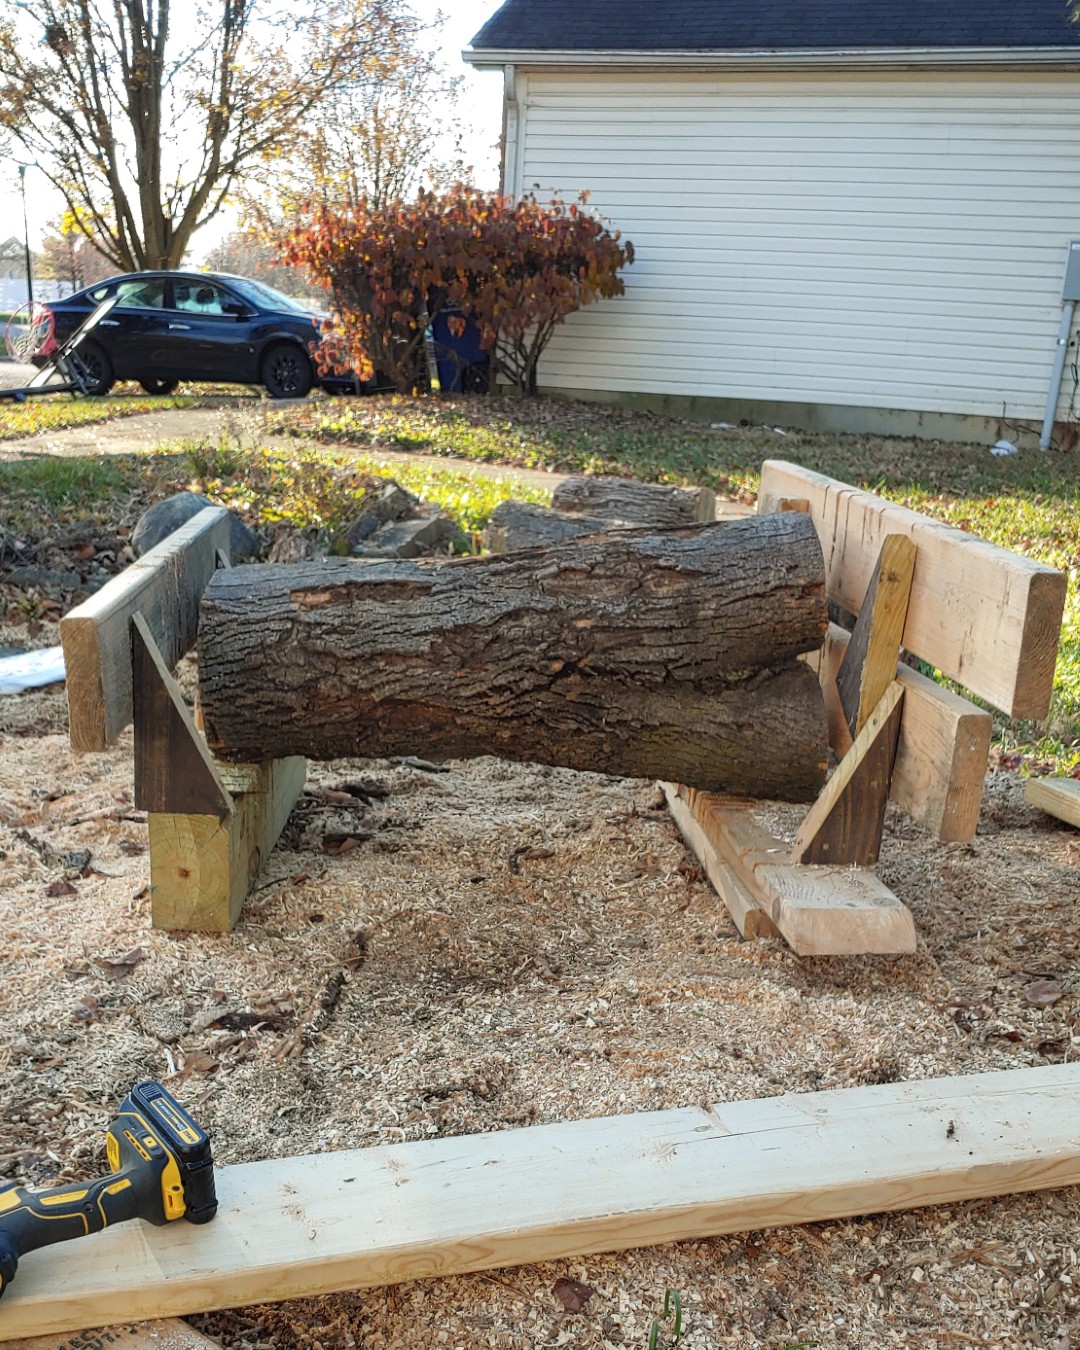
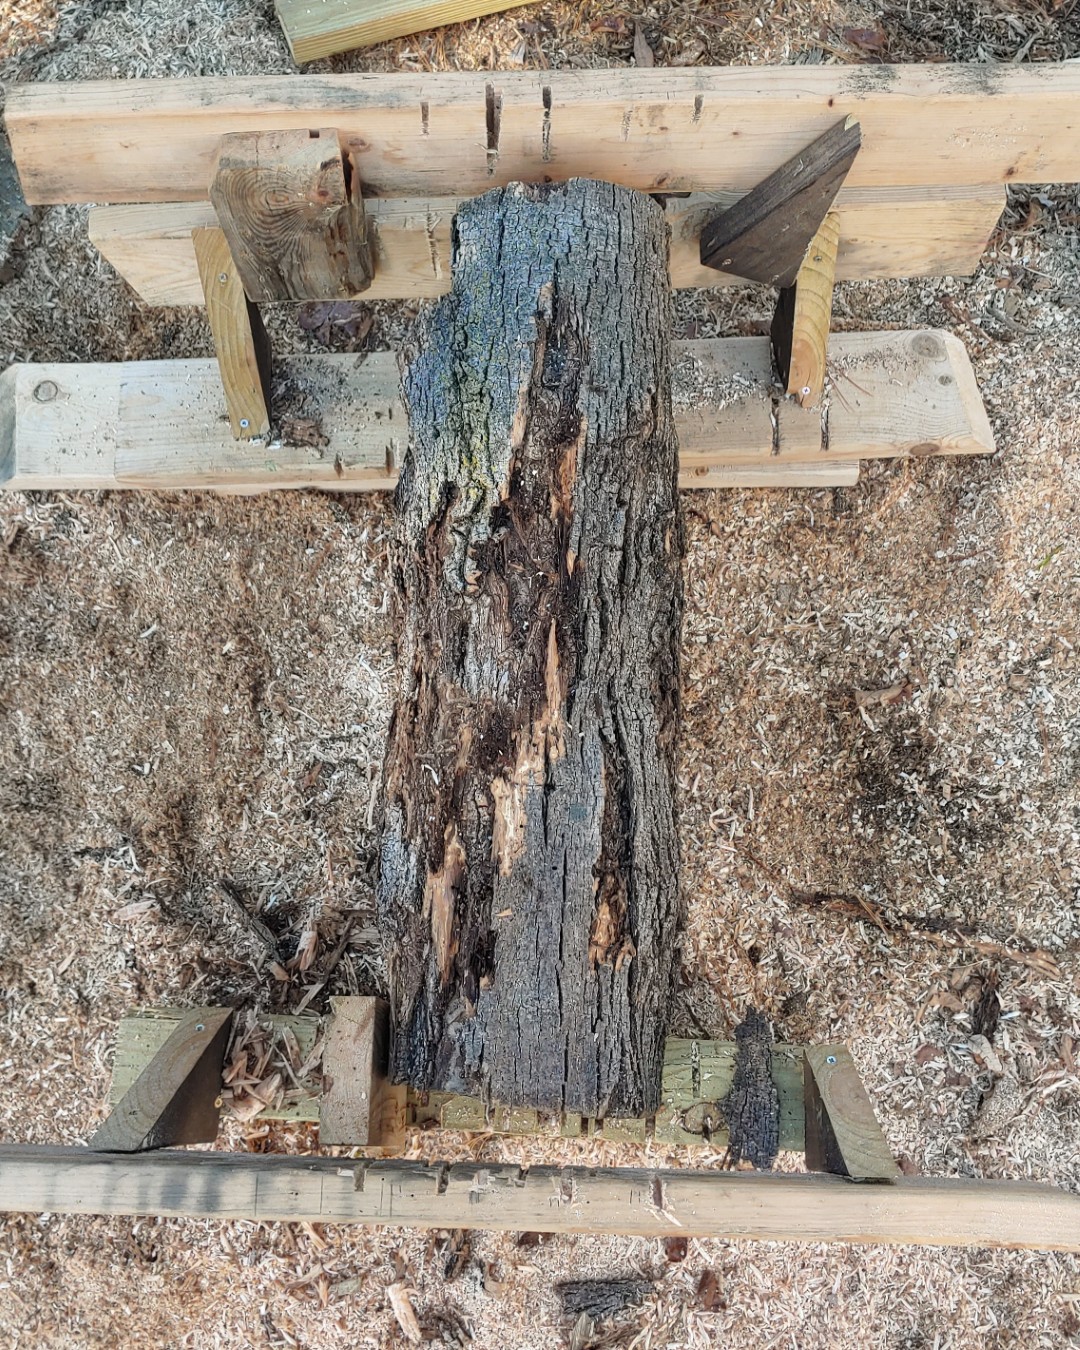
Different approaches were used for setting up the jig depending on the log size.
For larger, longer logs, I screwed scrap wood into the log at the ends, then attached the 2x6 to that. Each pass meant unscrewing the board and shifting it over by the thickness of the board.
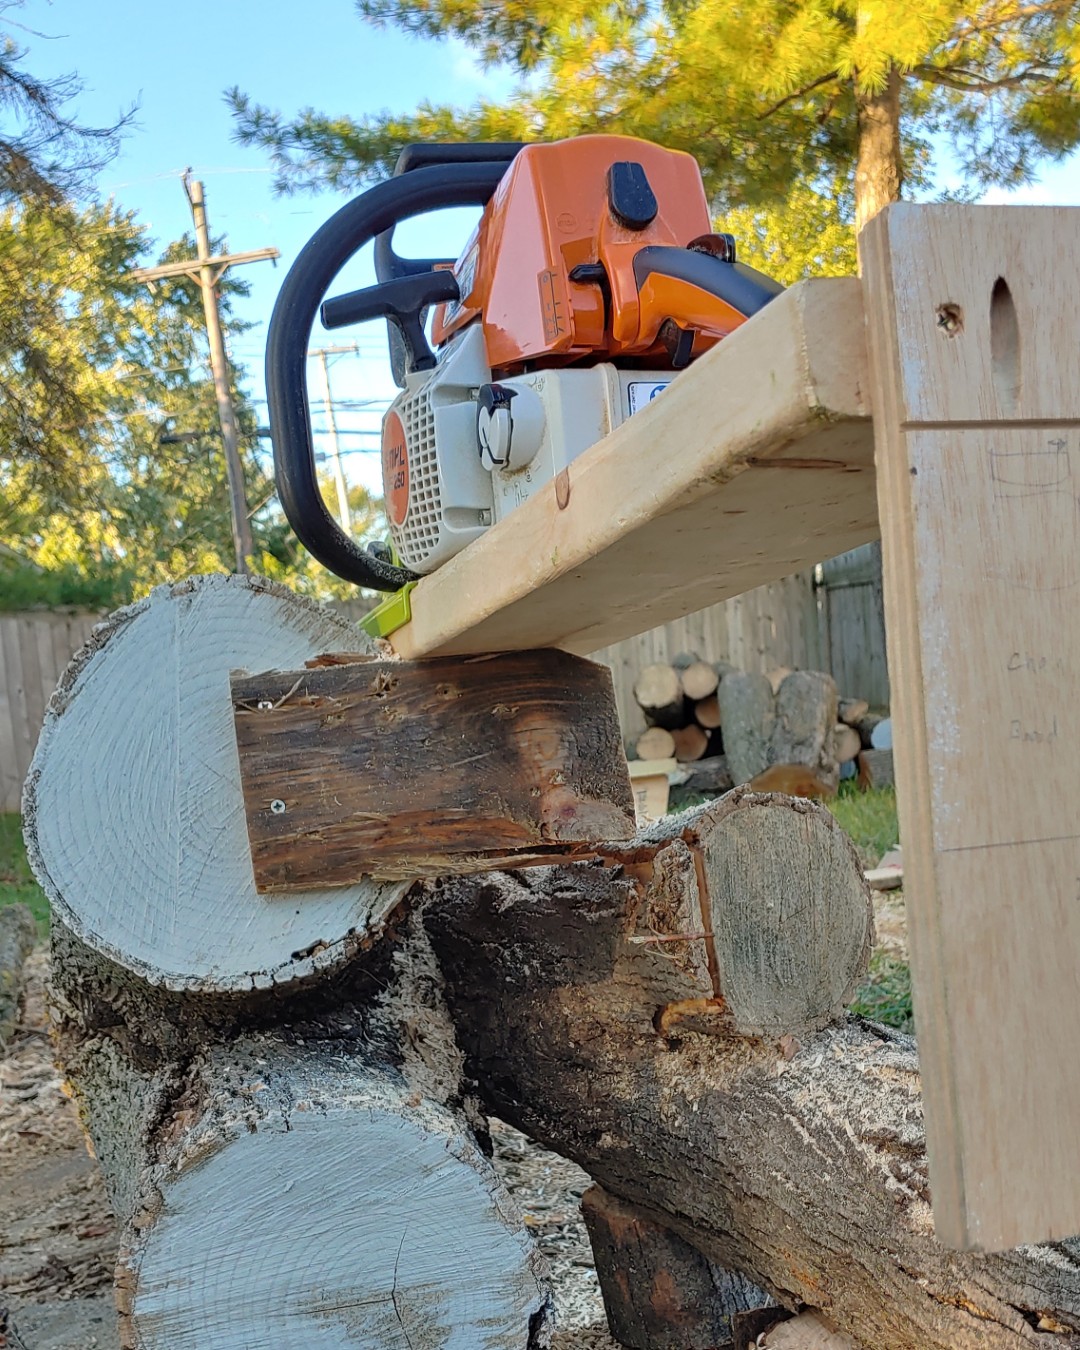
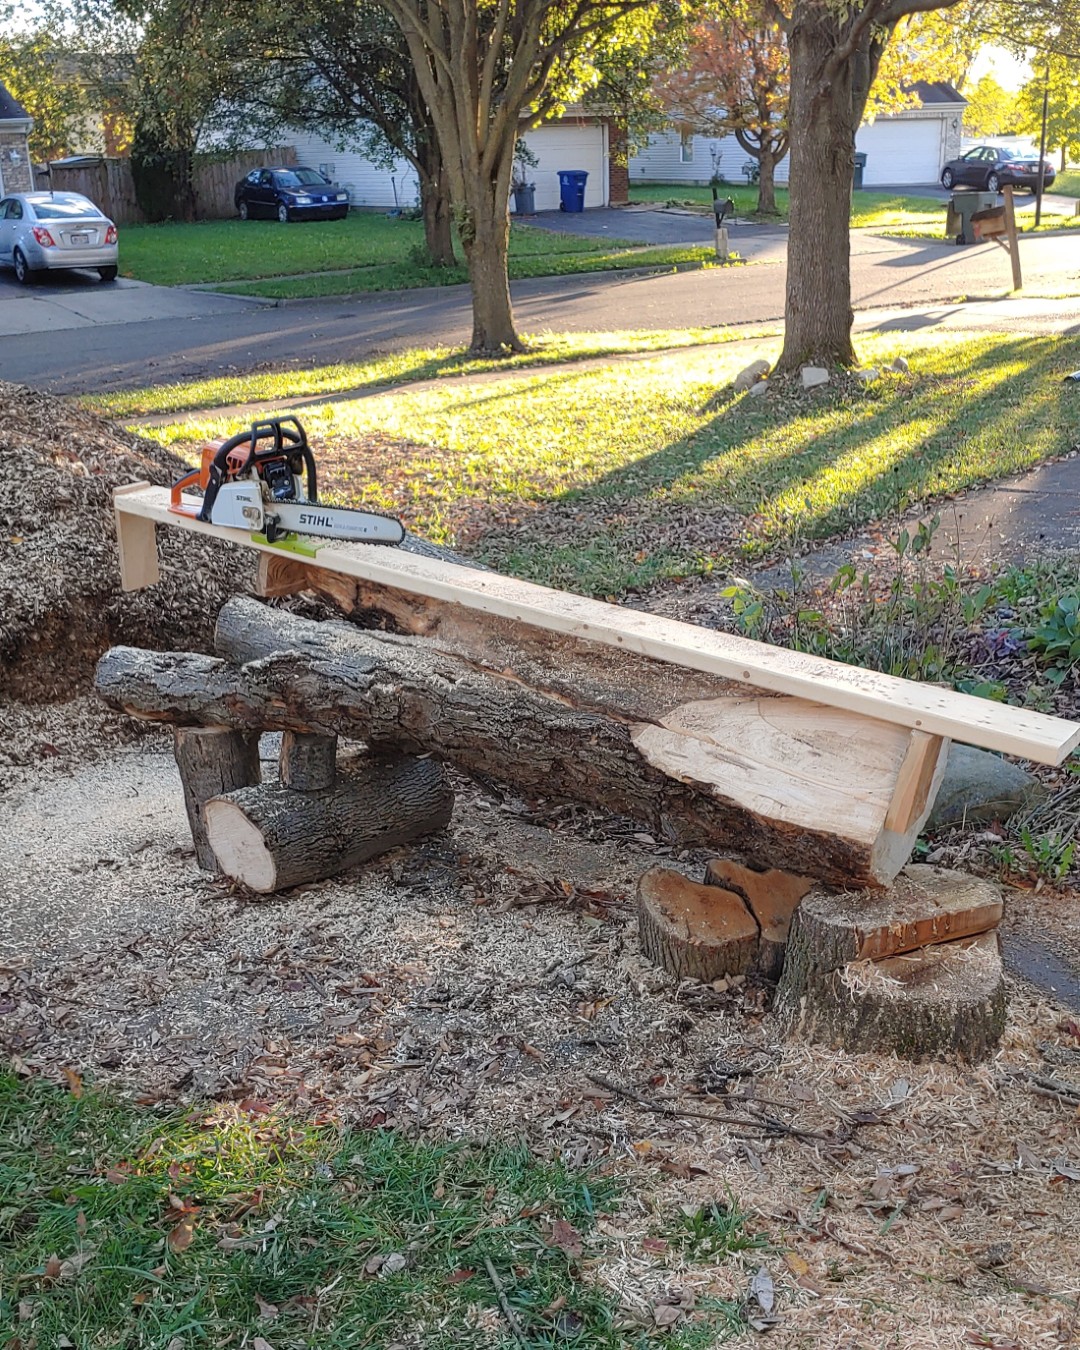
With the lower setup to yield ratio, shorter logs were more annoying. I made a makeshift platform that I screwed into each log. This wasn’t perfect and needed to be adjusted every few logs when sizes changed significantly.
Cutting technique
Taking multiple passes to work down to the full depth worked best. This video pointed me in the right direction: Two Chainsaw Secrets - Turning a Tree into Perfect Boards
The key realization is that the tip of the bar removes material much quicker than the flat part of the bar. When the cutting angle is just right, long curls of wood fly off the chainsaw instead of dust.
I haven’t tried yet, but I think it would also help to file down the rakers to get a deeper cut.
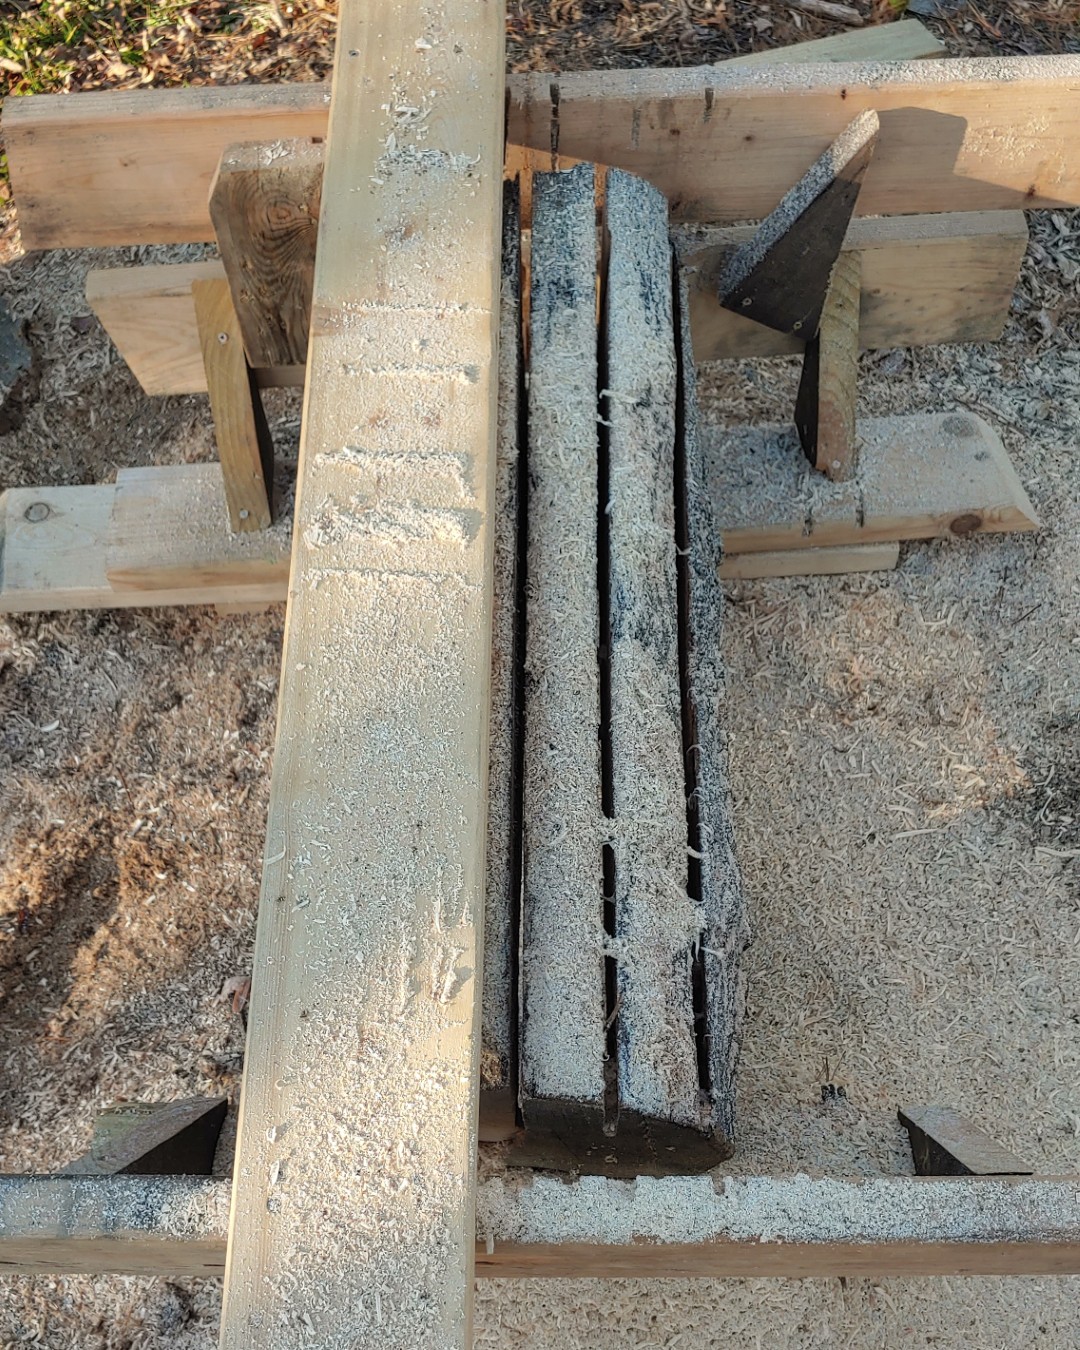
With this style of chainsaw mill, the biggest source of inaccuracy is from left-to-right wobble. This shows up in the first pass with the direction affecting how straight the board is length wise. To add on to this problem, cutting on a steeper angle for the end of the log, the cut wants to wander down the curve, pushing the cut line away from ideal.
Towards the end of cutting the board, the left-right wobble impacts how consistent the thickness of the board is.
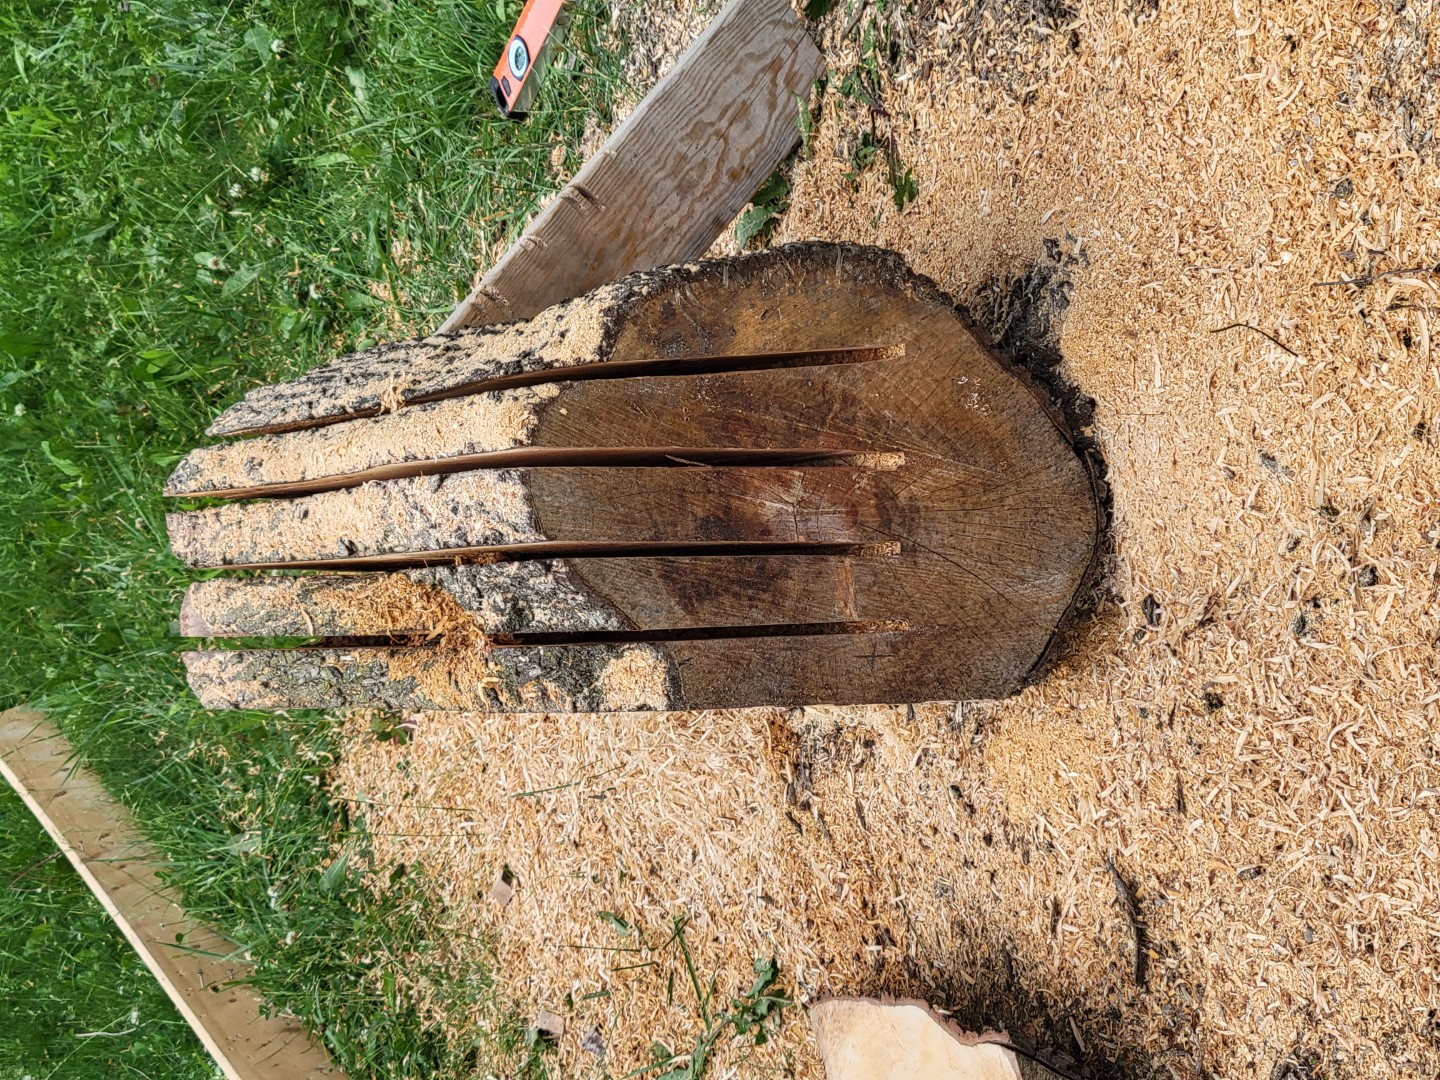
Taking a cut off the right side of the log, with my body to the left of the log, with the chainsaw pointing down, the chainsaw wants to tilt counterclockwise. The right side is heavier because of the bar. This means, as the chainsaw drops, it wants to wander into the log. If the amount of wander is inconsistent between cuts, you end up with an angled board, one edge thicker than the other.
To counteract all this, it takes some practice and understanding. My best advice is to take light passes, use a consistent grip, and check progress often.
Sharpening
Really important. Mostly, understanding what is actually being sharpened on the chain. Just swiping with the file across the teeth won’t do it. The exact right positioning and upward pressure is needed to impact the cutting edge.
The left and right cutting teeth need to be the same length, or the saw will naturally pull to the side.
Results
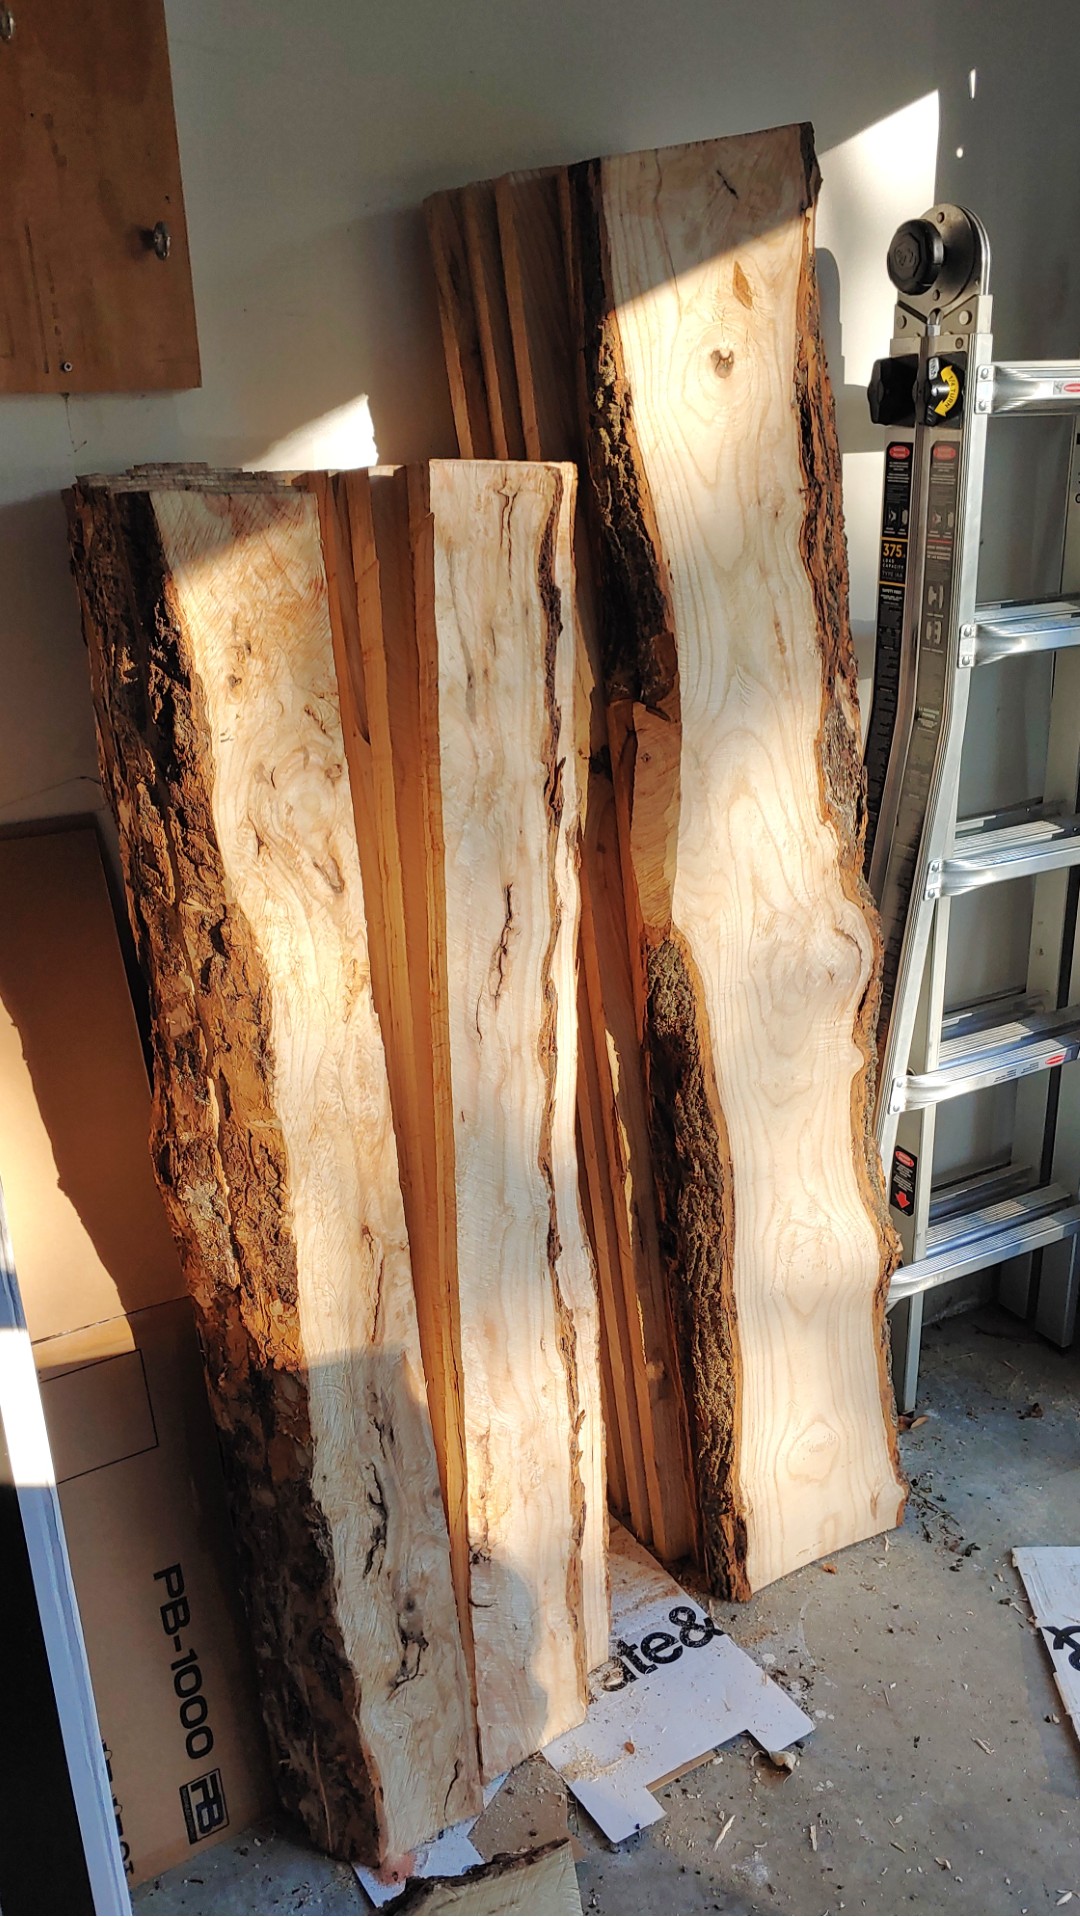
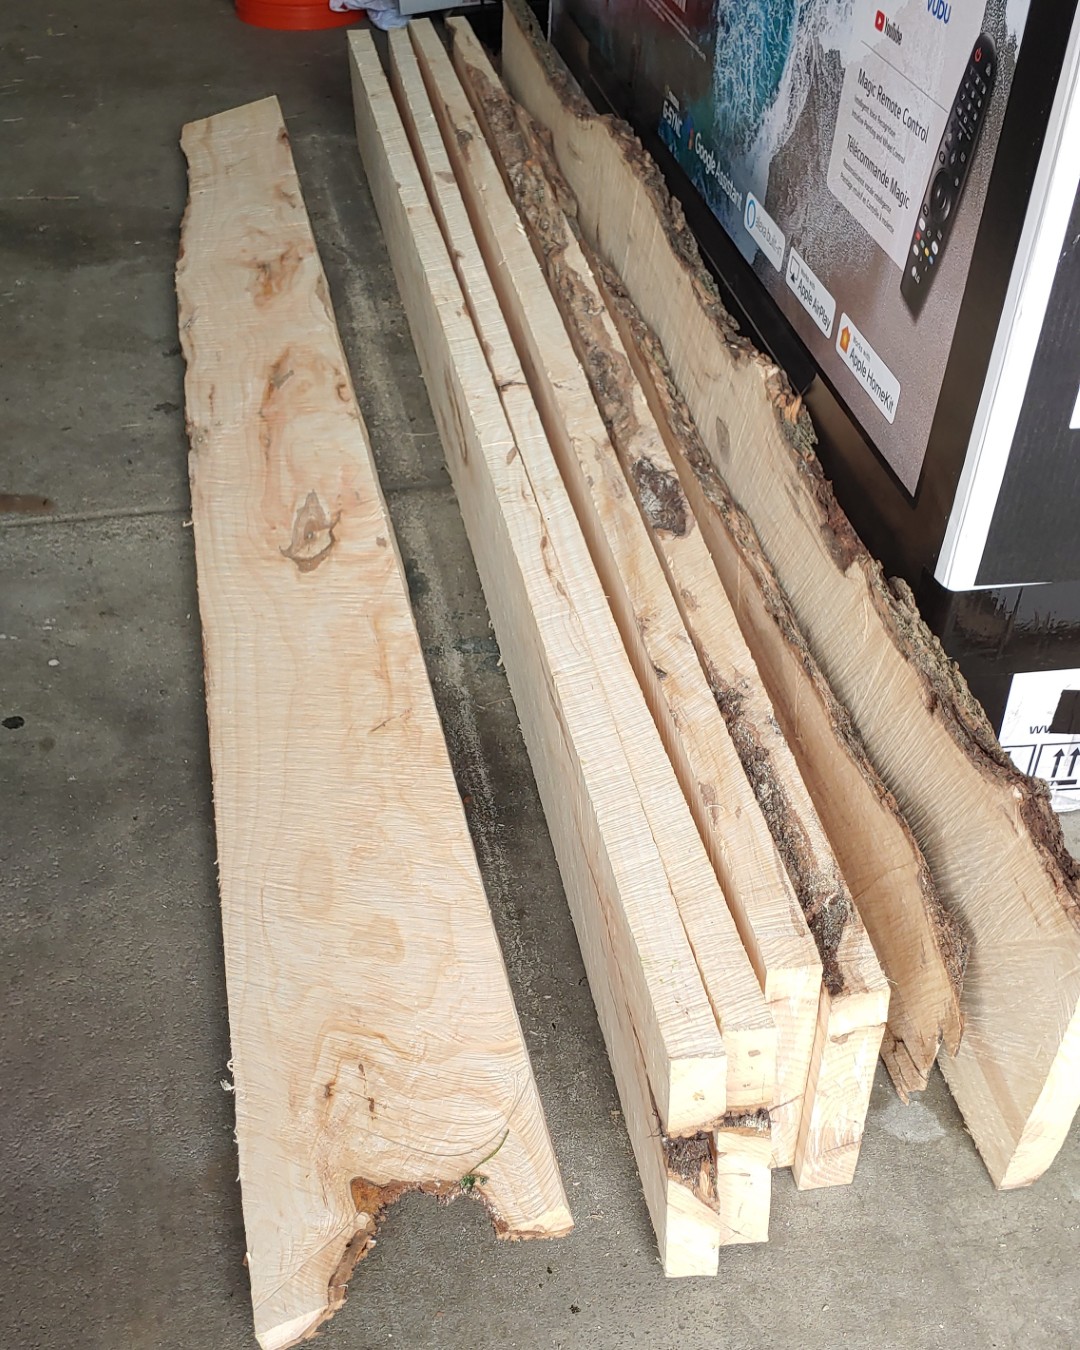
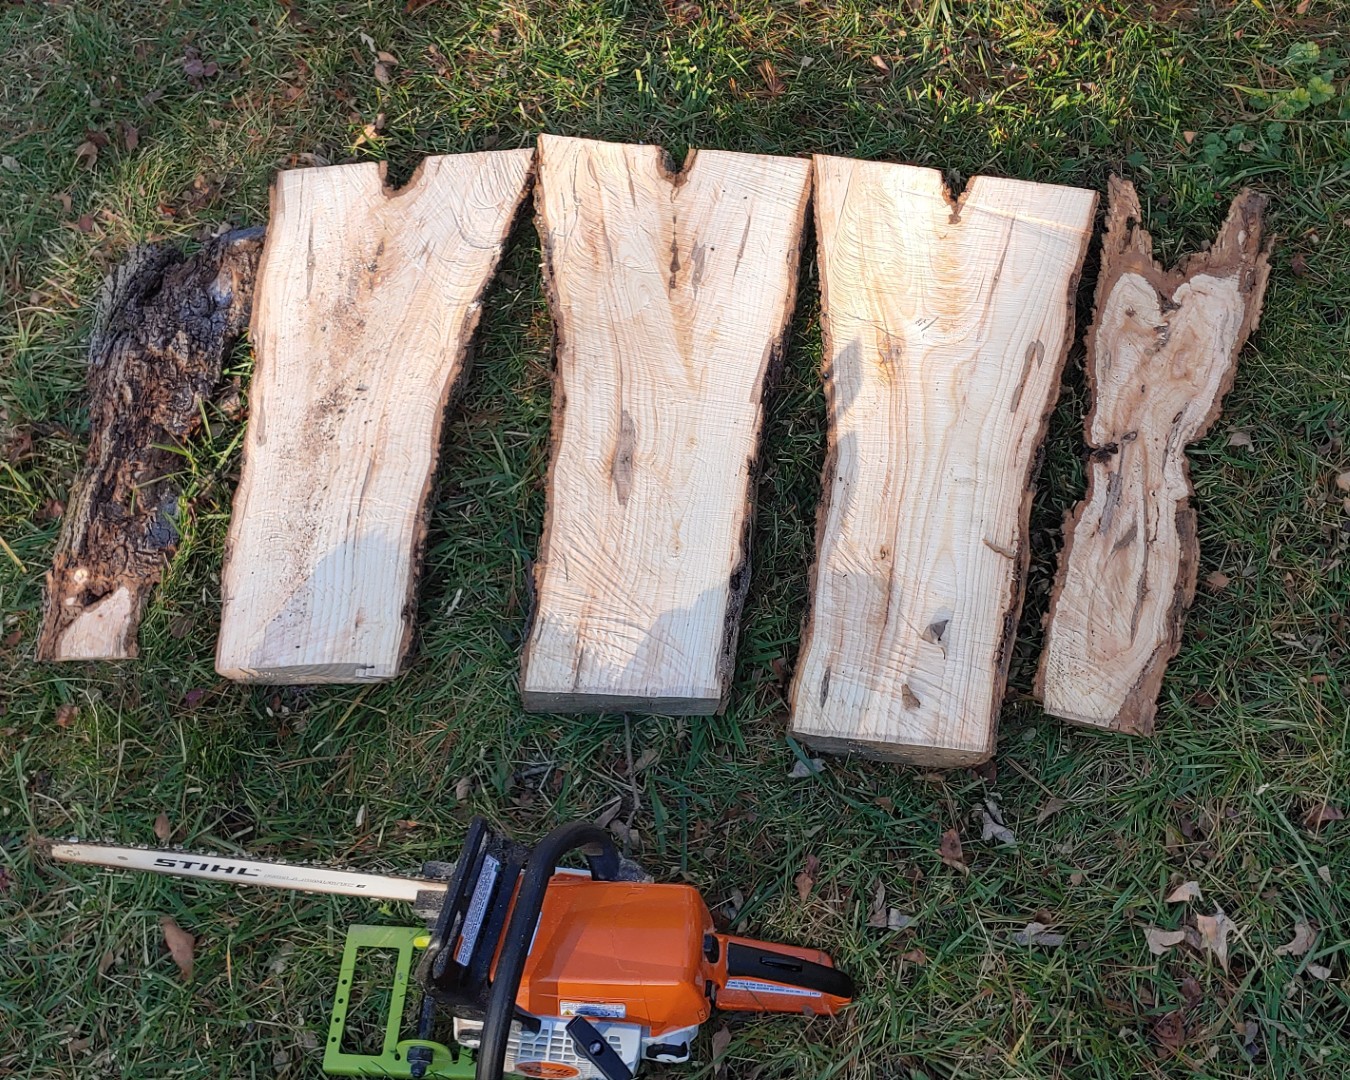
The boards came out pretty good for a chainsaw. Lots of ridges and dips towards the ends where it’s hard to get accuracy.
Especially rough parts where the chainsaw couldn’t get through the entire diameter and I had to freehand the rest. It’ll buff out.
Step 4: Stacking and drying
I stacked all of the board in my garage against one wall, separated with scrap wood for airflow. The cuts were nowhere even, so I needed a lot of extra scrap jammed in throughout the pile to make it more stable.
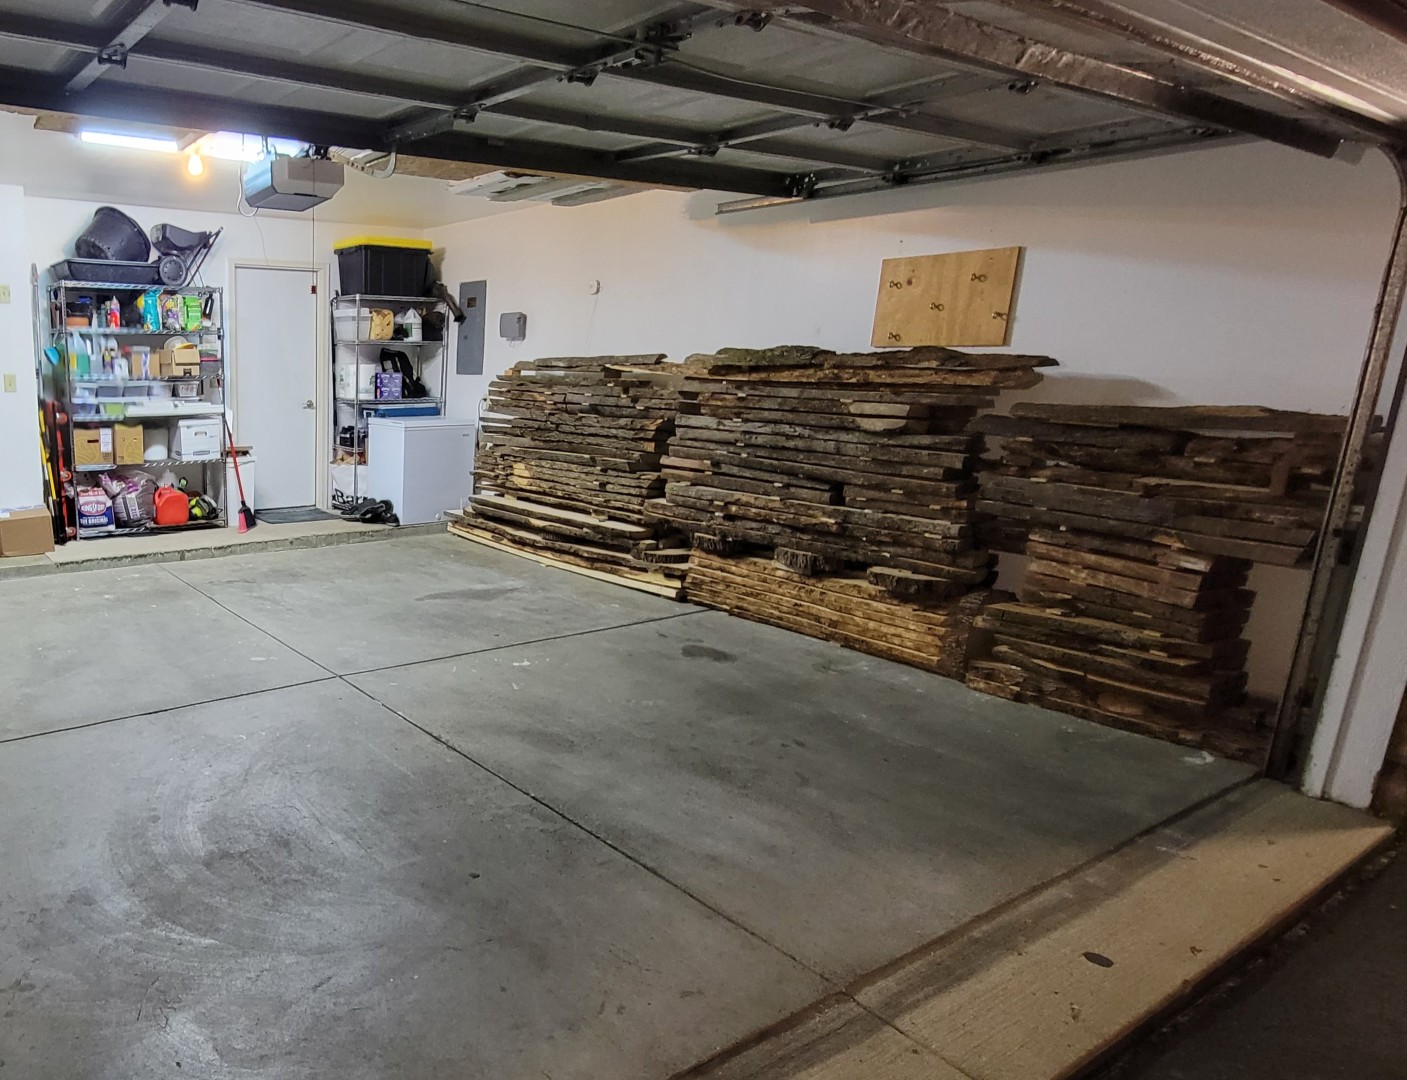
Then, I left it to dry for two years.
Step 5: Build stuff
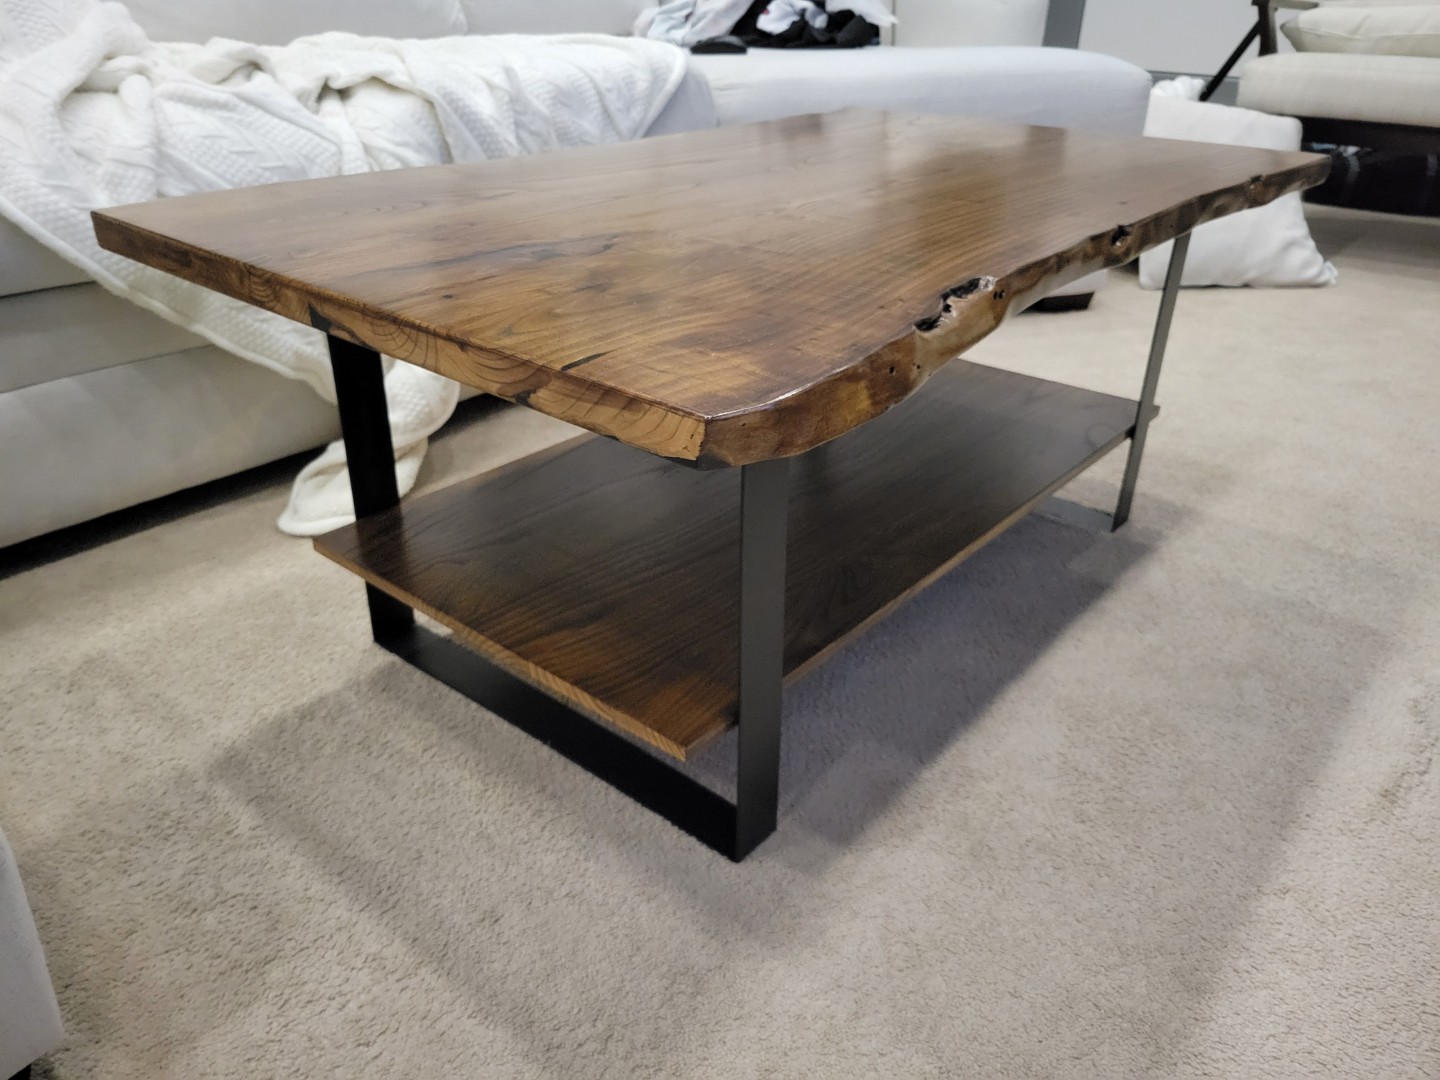
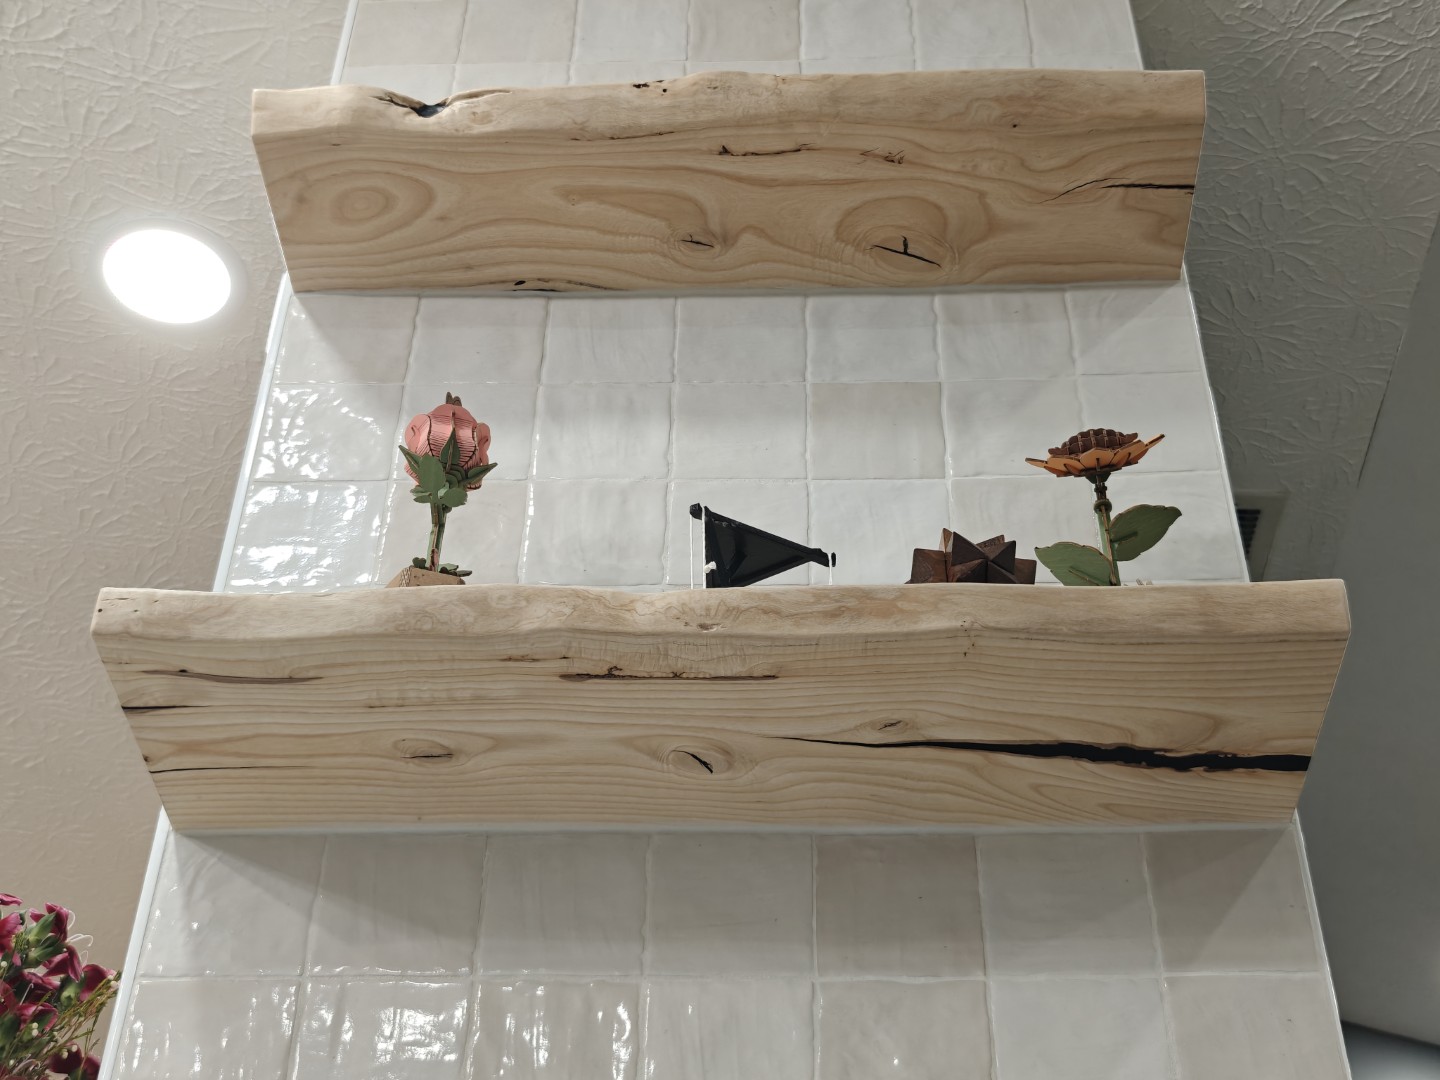
So far, I’ve made
- Coffee table
- Live edge floating shelves in the kitchen
- Live edge framed shelf for the bathroom
- Charcuterie board
Step 6: Profit?
Hah.
Rewind back to milling
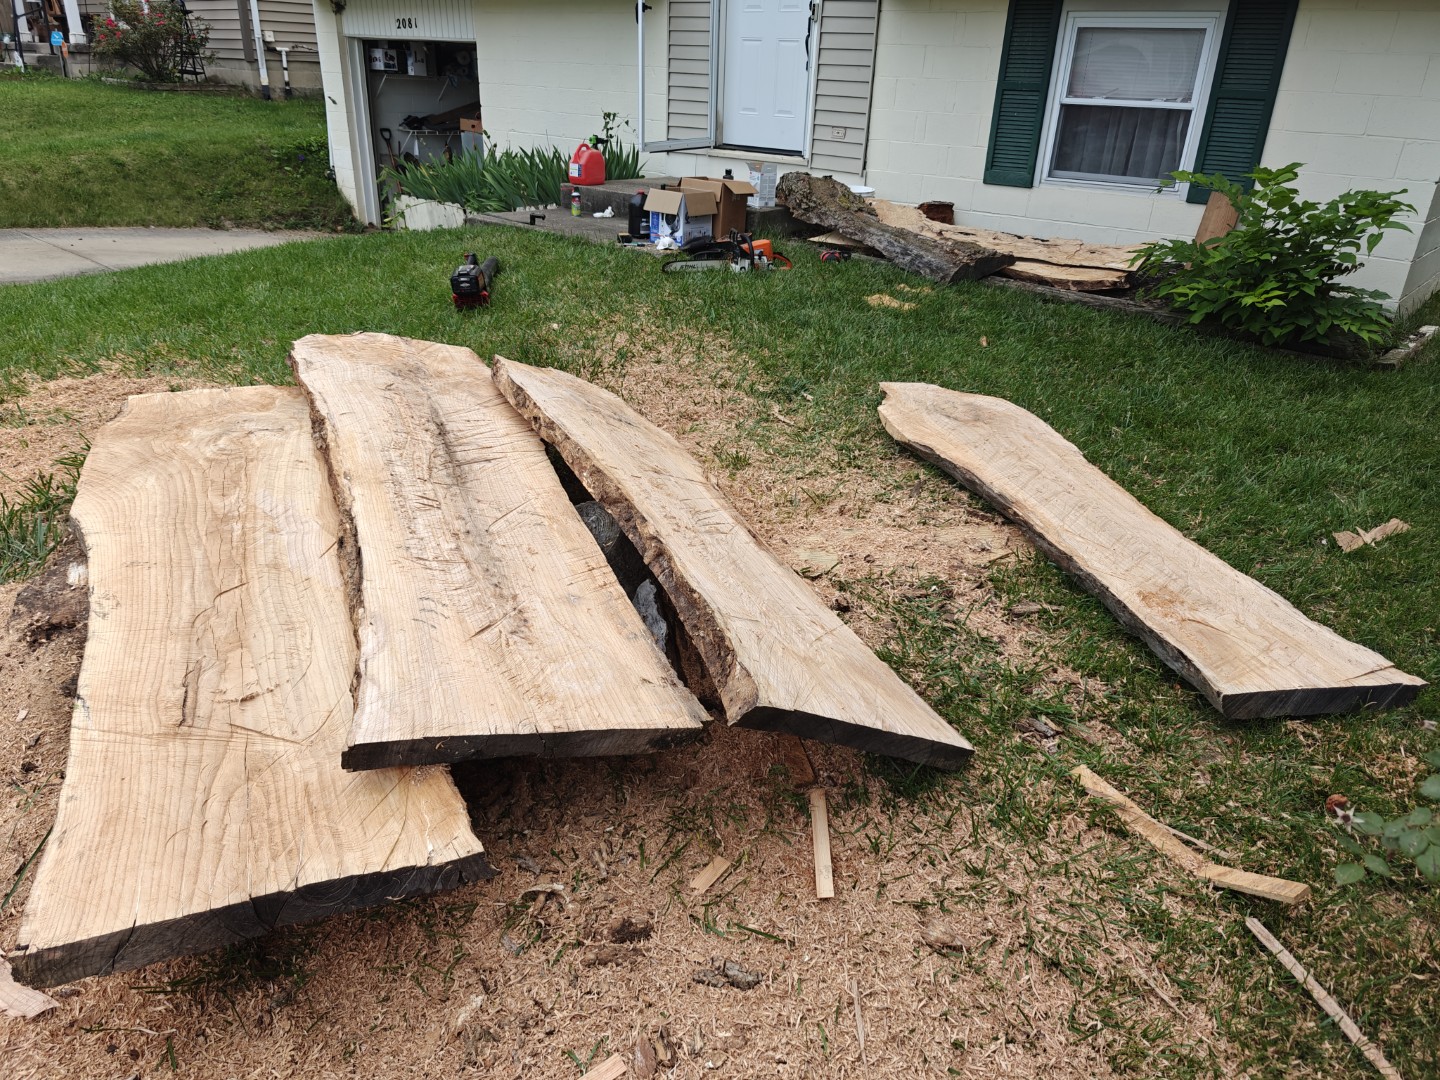
My friend had a massive log in his front yard, also from an Ash tree. Every time I came over, I promised that next time I’d bring my chainsaw and mill it up. One day it finally happened.
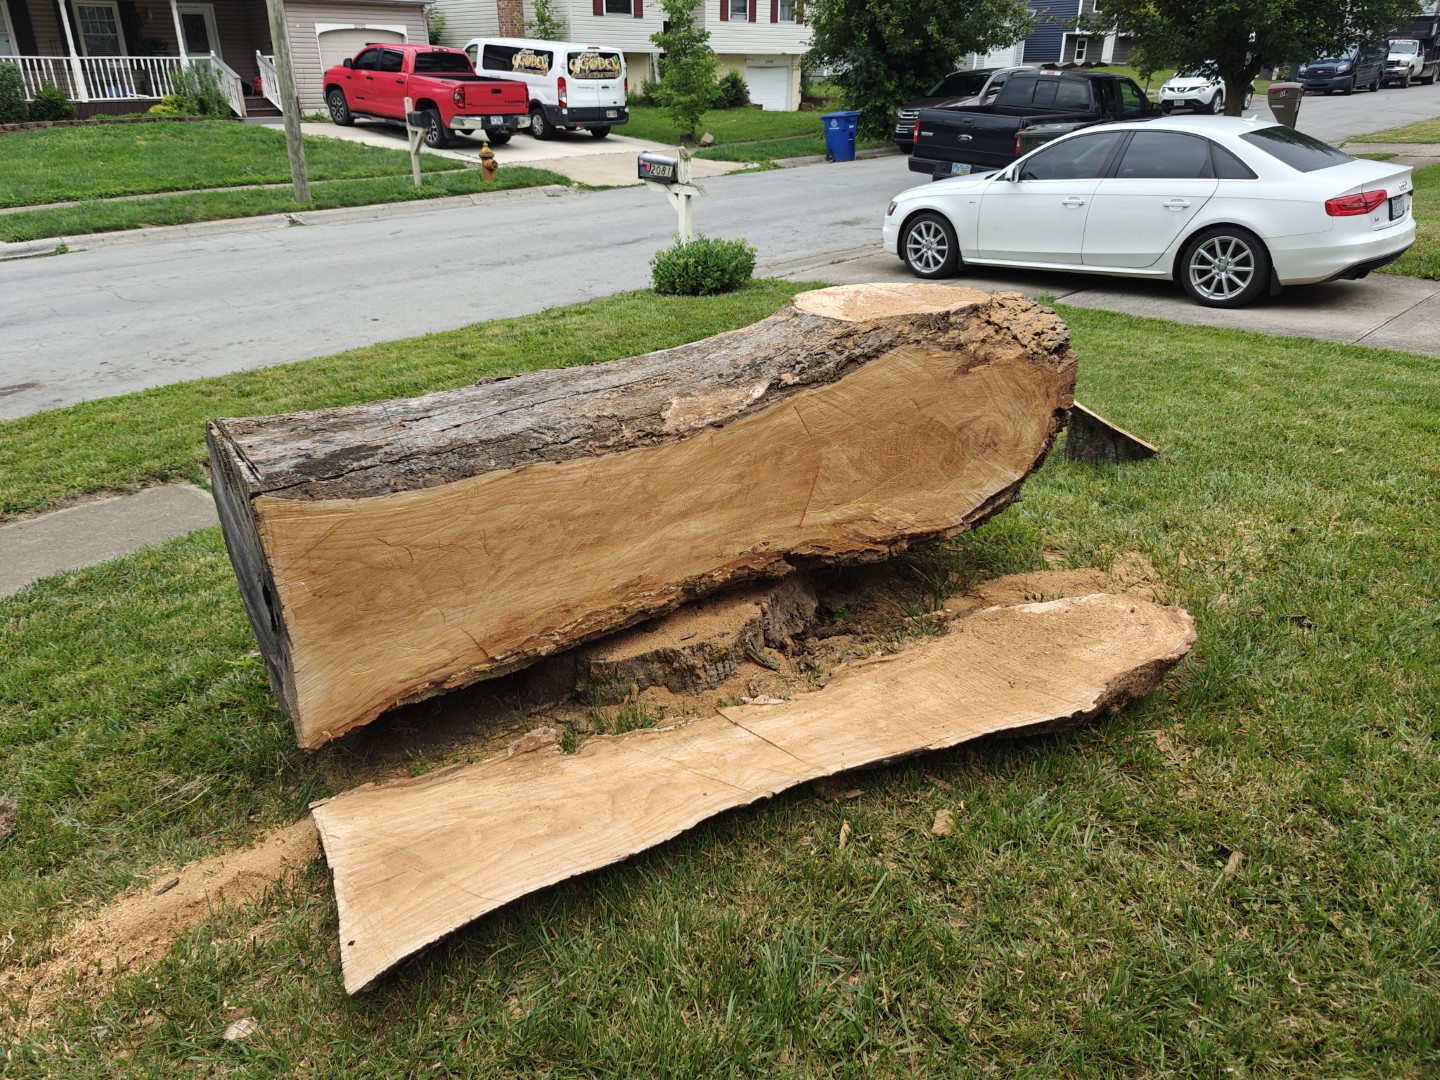
This was the largest log I’ve done. My bar would definitely not make it through the full thickness. I no longer had the jig, and it sacrifices bar capacity anyway.
So this time, I went freehand. We figured out the board spacing, used markers to draw lines on all edges, and I started cutting.
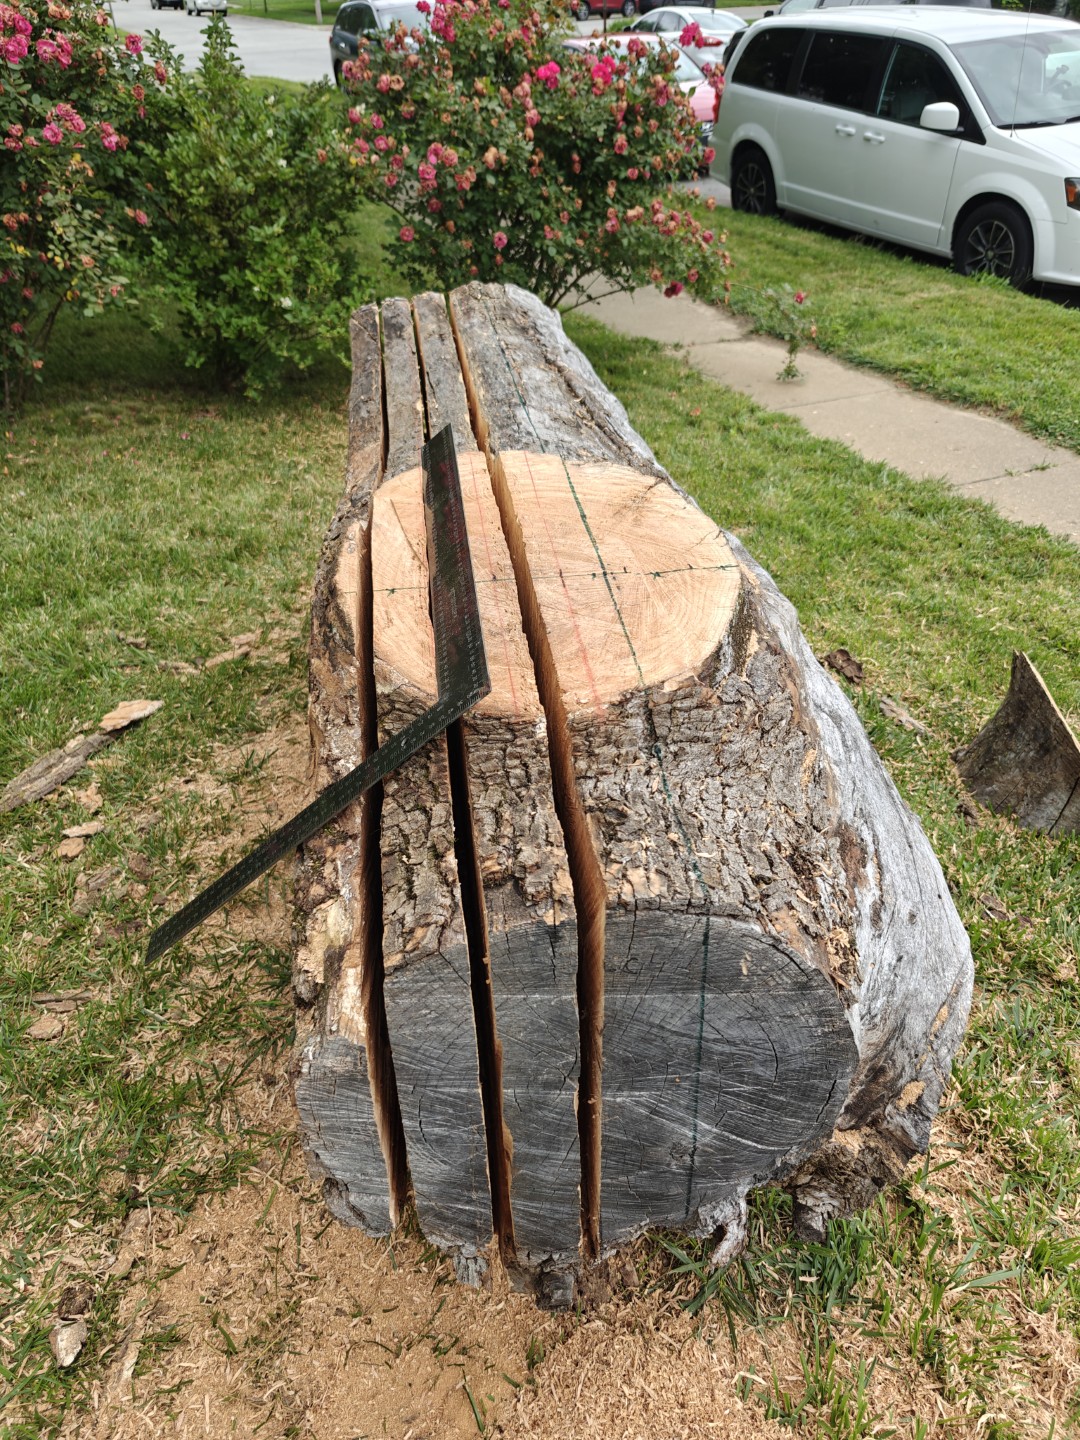
This went better than expected. My hours of experience with the jig helped. I already learned from earlier mistakes, and with better technique, made it through the log in 1.5 days.
What I would do today
The jig was an okay starting point when I had little chainsaw experience. The alignment helps, but doesn’t remove the need to pay attention. The weight of the saw resting on the board helps a bit with the back pain, maybe.
There’s a specific size log that the jig works well for. About 12-16 inches in diameter and 6-8 feet long.
For everything else, there’s Mastercard.
If I had to mill another four trees, I would get a bigger chainsaw and try a horizontal mill.
For a single log, I’d freehand.
Smaller logs, I’d buy a bandsaw and mill them with a jig.
Conclusion
Chainsaw milling is a ton of hard work, but very satisfying. Splitting a log open and seeing its potential is an awesome moment. It’s a project in itself, but opens up dozens of future projects with their own opportunities to learn and build.
And of course the end results tell a great farm-to-table kind of story. I love that I can connect the kitchen shelves to the tree that grew on this property for 20 years.